For most images you do not need to install anything. Open the image in Preview or Photos, drag across the text, Control-click the selection and choose Copy Text. That is Live Text, and it is built into macOS.
If you would rather skip saving a file and just draw a box around any part of the screen, there are two routes: a free keyboard shortcut you build yourself in the Shortcuts app, or a ready-made screenshot tool such as ZenOCR. This article goes from the least effort to the most, then covers what to do when the text refuses to copy.
The fastest way: Live Text, nothing to install
This is the right answer when the image is already in front of you: a picture someone sent, something you downloaded, or a screenshot sitting on your desktop.
- Open the image in Preview or Photos.
- Hold the pointer over the text and drag to select it.
- Control-click the selection and choose Copy Text. In Photos you can also press Command-C.
- Paste it into any document or message.
If you cannot select anything in Preview, choose Tools > Text Selection to turn the selection tool on. Apple documents these steps for Preview and for Photos.
If you just took a screenshot, macOS saves it to the desktop by default, named "Screen Shot" followed by the date and time. Find that file and open it with the steps above.
Why your clipboard has no text after a screenshot
This is where many people get stuck. A screenshot is a picture, not text.
Apple's screenshot guide says Shift-Command-3 captures the whole screen and Shift-Command-4 lets you drag out a region, and both save to the desktop by default. To send the picture to the clipboard instead, add Control to the shortcut, for example Control-Shift-Command-4. You can also Control-click the thumbnail that appears in the corner of the screen and choose Save to Clipboard.
Be clear about what you get, though. The clipboard now holds an image. Paste it into a note or a text field and you get a picture, not words. Getting the words takes one more step of recognition, which is what the next two sections automate.
When the text will not copy
These are the usual causes, roughly in order of how often they come up.
- Preview will not select anything. Turn on Tools > Text Selection, as above.
- The image is open in the wrong app. Live Text is a feature of Preview, Photos and similar system viewers. The same image opened in another app may not let you select the text. Our guide to Preview OCR covers this and the system setting that switches Live Text on and off.
- The text is in a paused video, a web image, a pop-up or an interface element you cannot select. Capture that area as an image first, then recognize it. The shortcut in the next section does both in one go.
- The image is small, blurry or handwritten. Live Text works well on tidy printed text. It does not read cursive: in our handwriting test, Apple's Live Text read cursive not at all. For that you need a different recognition engine, not another attempt with the same one.
- A table comes out as a jumble. The words are there but the rows and columns are not. See extracting tables from scanned PDFs.
No file, just a box around the screen: a free Shortcuts hotkey
This suits people who often need text from places that will not let you copy it: a paused video, a slide in a meeting, a locked document, an error dialog.
The Shortcuts app that comes with macOS can chain screenshot, recognition and copy into one keyboard shortcut. The steps below follow a community tutorial, not an Apple page, and menu names can differ a little between macOS versions.
- Open Shortcuts and click the plus button to create a new shortcut.
- Add the Take Screenshot action. Change it from Full Screen to Interactive, open Show More, and set the selection to Custom, so you get crosshairs to draw a box.
- Add the Extract Text from Image action.
- If you will capture several lines, add Combine Text and pick how lines should be joined.
- Add Copy to Clipboard.
- Open the shortcut's details, give it a name, and add a keyboard shortcut. The tutorial uses Command-Shift-7. You can also pin it to the menu bar.
From then on, one key press and a drag puts the text on your clipboard. It runs on your Mac, installs nothing and costs nothing.
The trade-off is that you build it once yourself, and you get the recognition quality the system provides, with no other option. For tidy printed text that is usually enough.
A ready-made option: ZenOCR's screenshot mode
ZenOCR is a macOS OCR app that I build, so read this section with that in mind. Its screenshot mode follows the same path as the shortcut: press a hotkey, drag a box, release, and the text is on your clipboard.
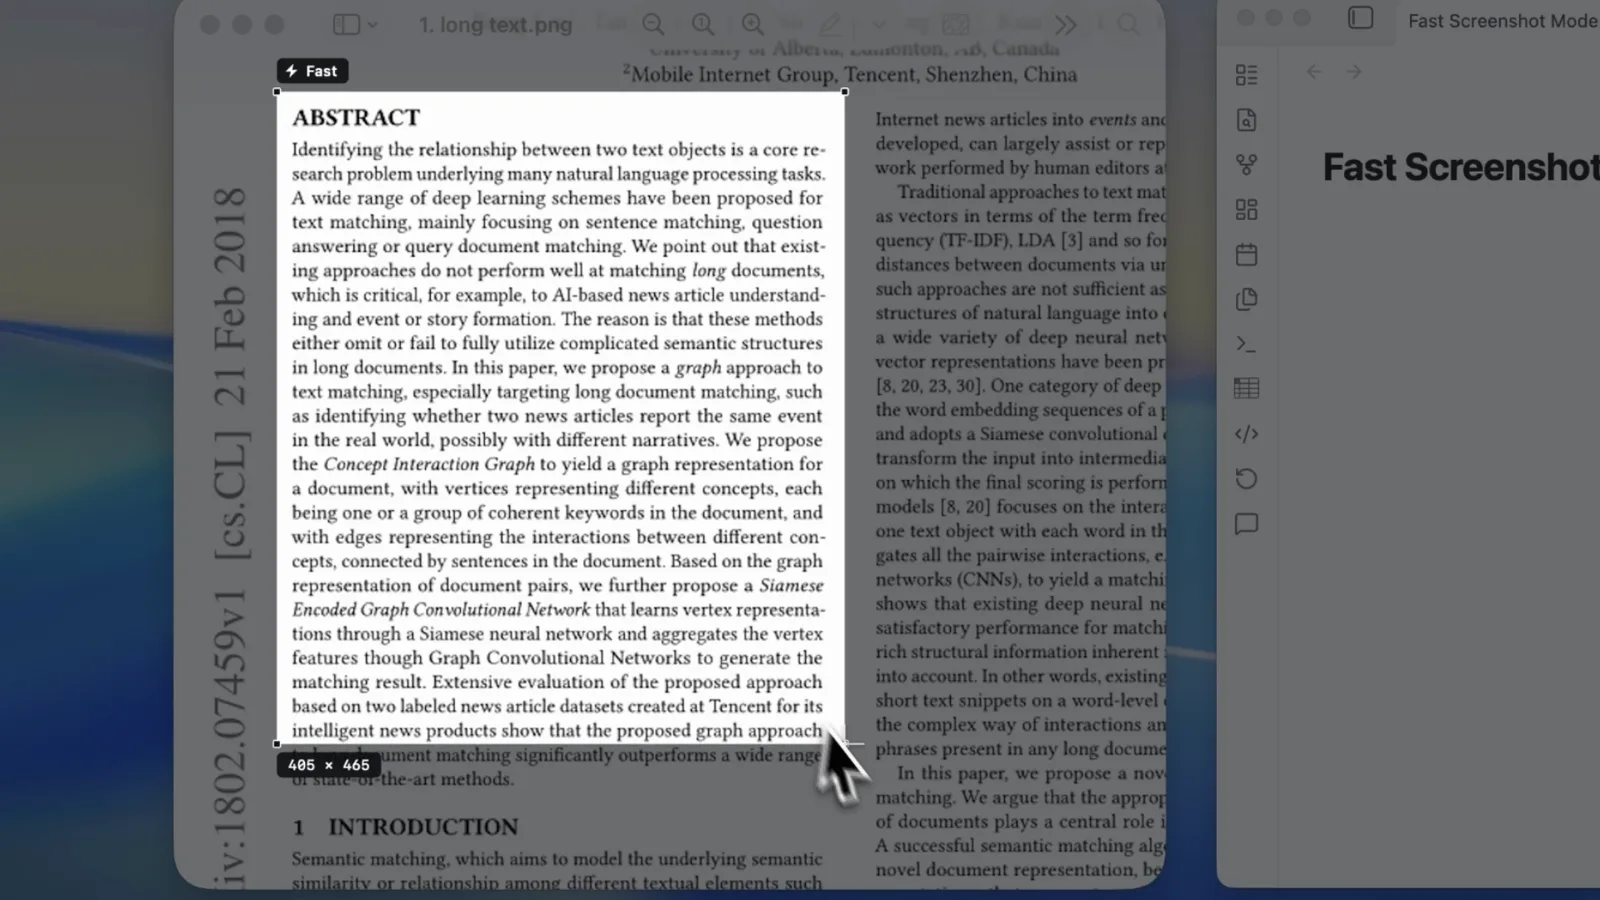
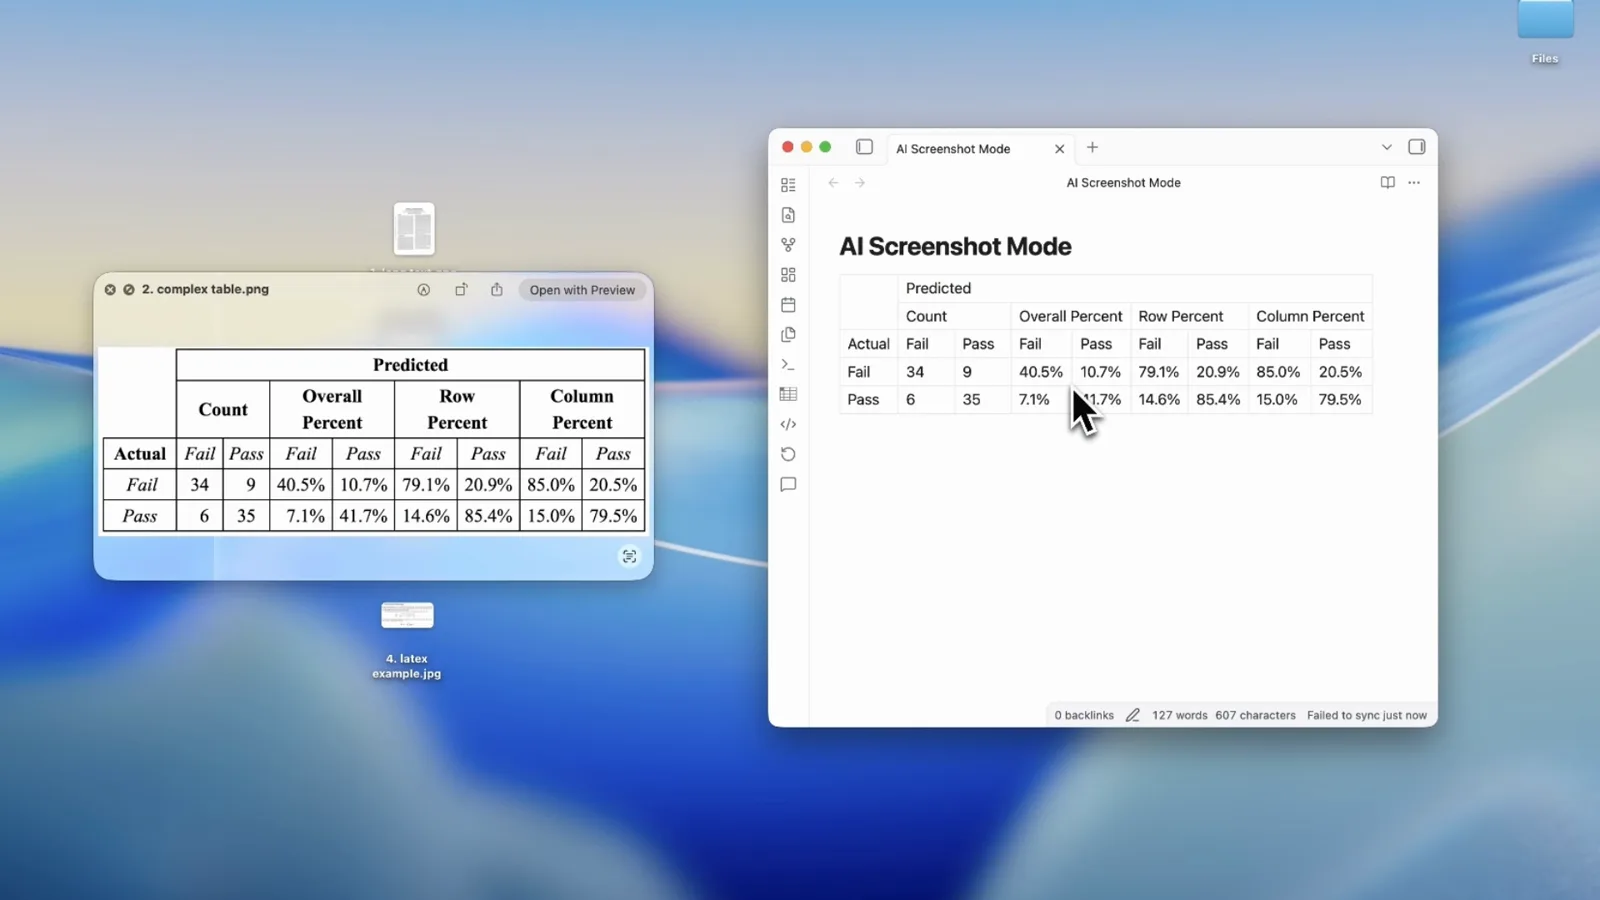
There are two screenshot hotkeys, which you can change in Settings. Fast Screenshot OCR uses Apple's Vision engine and returns text almost at once, which suits clear printed text. AI Screenshot OCR runs an on-device model. It is slower, but it handles tables, handwriting and complex layouts. In the AI mode the result goes to the clipboard as both HTML and Markdown, so pasting into Mail or Word gives you a table and pasting into a plain text box gives you Markdown.
What it does not do well, or at all:
- If you only copy text now and then, Live Text and the free shortcut are enough and you do not need ZenOCR.
- It does not keep code block formatting.
- AI Screenshot OCR needs a Mac with Apple silicon and a downloaded model, so an Intel Mac gets the Fast mode only. ZenOCR needs macOS 14 or later.
- For the quickest possible hotkey capture, Shottr and TextSniper are built for that. See TextSniper vs OwlOCR vs ZenOCR and Best OCR App for Mac.
It is free to download, with a 7-day trial and then a one-time Lifetime Pro unlock, not a subscription. Check the App Store listing for the current price.
Which one to use
- The image is already in front of you and you copy text occasionally: Live Text. It is free.
- You often need text from places you cannot select, and the text is tidy print: the free Shortcuts hotkey.
- You need tables, formulas or handwriting, or you do not want to build anything: ZenOCR, starting with the 7-day trial.
- You want a mature, single-purpose capture hotkey: Shottr or TextSniper.
Sources
- Apple Support, Live Text in Preview: https://support.apple.com/guide/preview/interact-with-text-in-a-photo-prvw625a5b2c/mac
- Apple Support, Live Text in Photos: https://support.apple.com/guide/photos/live-text-interact-a-photo-pht6bc6bd5f5/mac
- Apple Support, Take a screenshot on Mac: https://support.apple.com/en-us/102646
- Shortcuts walkthrough (community tutorial, not Apple): https://r44j.dev/blog/this-is-how-i-created-mac-ocr-using-mac-shortcut-extracting-text-from-screen-captures